
Transport Fever 3 Warehouse Guide: Storage, Transfers and Limits
How warehouses work in Transport Fever 3: coverage radius, capacity limits, specialization, why freight into a warehouse earns nothing, and the traps to avoid.
Prefer video? AlphaZin covers where warehouses pay off, and MySpaceGuide breaks down the mechanics:

How & where to use warehouses & why warehouses are important in Transport Fever 3

Warehouse Explained - Transport Fever 3
What warehouses are for in Transport Fever 3
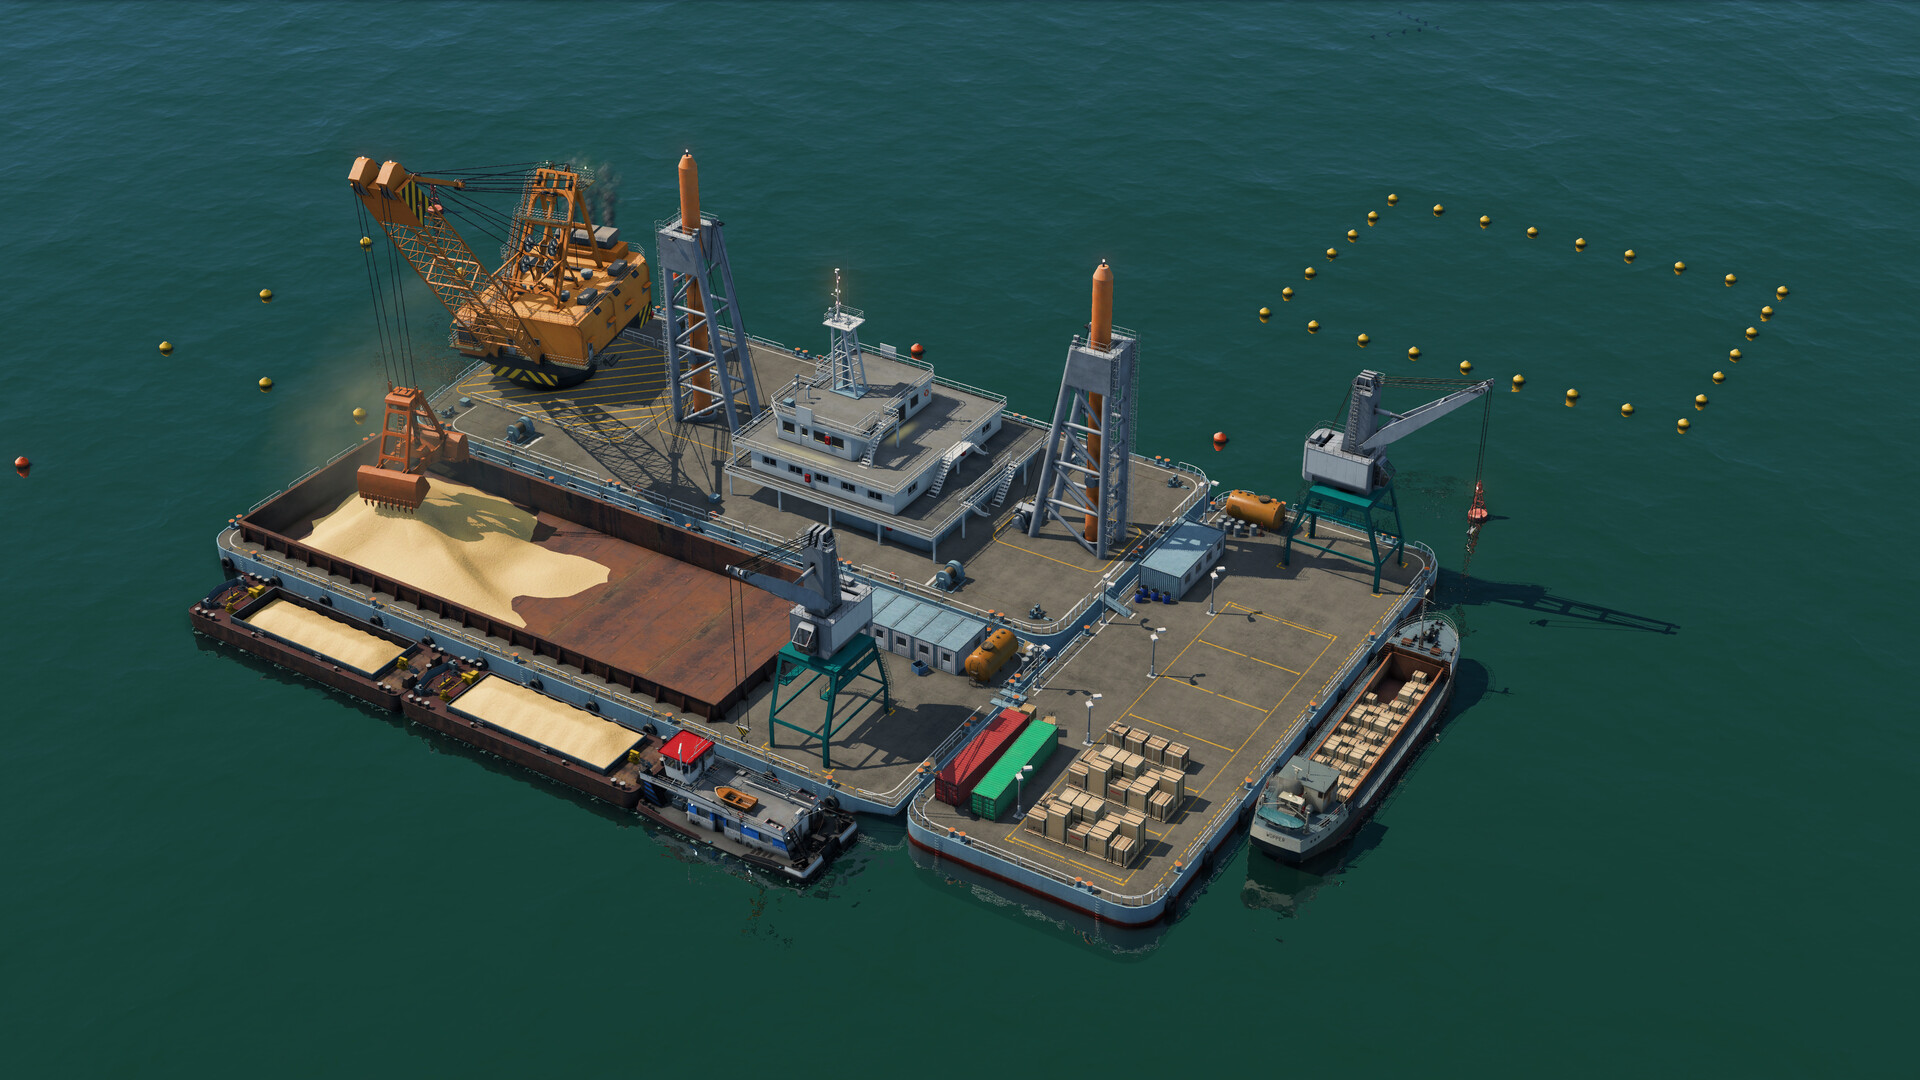
A sea cargo hub with cranes and barges. Storage nodes like this buffer production peaks — the same buffering logic that makes inland warehouses worth building. Screenshot: Urban Games, via the official Steam store page.
Warehouses are one of the genuinely new building types in Transport Fever 3, and unlike most additions they change how freight works at a basic level. Two facts make them close to mandatory.
First, not every cargo can enter a freight station directly. Fish — the classic early example on any coastal start — has to move through a warehouse: ships unload into it automatically at the harbor, and trucks then shuttle the cargo onward. Second, Transport Fever 3 physically stores cargo inside warehouses rather than piling it on station platforms the way Transport Fever 2 did. That detail drives the entire transfer logic of the game: a hand-off between two lines only registers once the cargo is sitting inside a warehouse, within its coverage radius.
If you are migrating from the previous game, the Transport Fever 2 vs 3 comparison walks through the other mechanical changes.
How the coverage radius works
Every warehouse has a catchment radius, and a transfer only counts when the receiving infrastructure sits inside that circle with the cargo physically stored in the warehouse. Get the geometry wrong and cargo just queues up.
This is also what the launch-week warning "a cargo type cannot be unloaded anywhere" is telling you: nothing within range can accept that cargo. The fix is exactly what the message implies — build a goods warehouse (or the right specialized type) inside the circle and the warning clears. Fishing chains trigger this constantly when the harbor, warehouse and rail freight station do not overlap properly.
If you are unsure what each cargo type feeds, the industries and cargo types reference lists every production chain end to end.
Specialization and sections
Warehouses are assembled from sections, and the specialized variants matter both for throughput and for what they will accept.
| Section type | What the footage shows |
|---|---|
| Goods | Covers boxed food cargo — fish, meat and canned food were all served by one goods setup. It also unloads matching cargo noticeably faster: one furniture delivery paid $41,000 through a goods platform versus $34,000 via flatbed. |
| Flatbed | The second common specialized section. One late-game distribution hub ran three goods and two flatbed warehouses side by side. |
| Liquid | Dedicated liquid warehouses and depots. Hard cap observed at 500 units. |
Pricing is on the order of $1.2 million per section, and a three-section instance stores around 1,500 units. A goods platform speeds up its matching cargo while slowing everything else down, and the universal platform is the compromise between the two — a fair default while you are still learning which cargo dominates a line.
The liquid cap deserves its own warning:
Capacity: the 500 rule, stacking and merging
500 per cargo type is the number that keeps coming up in practice:
One mid-game warehouse held 500 fish, 500 meat and 500 furniture at the same time. Stacking modules raises per-type storage: a fish-and-meat transfer point was stacked to 500 plus 500, and a plastics warehouse reached 1,000.
Adjacency compounds this. Build warehouses next to each other and they automatically merge into a single large facility — one merged complex observed in play reached 2,500 units. Because merging happens on its own, think about site layout before you place the first section.
Traps that eat your cargo
Trucks deliver to commercial buildings, not your warehouse
My trucks keep delivering to the wrong buildings
Road deliveries can land at commercial city buildings that sit inside the delivery stop's coverage circle instead of your warehouse — and there is currently no option to restrict a stop to warehouse-only delivery. The workaround is placement: keep the unloading point out of commercial coverage so the warehouse is the only valid receiver in range.
Canneries grab every input they can reach
A cannery is eating my cargo
Canneries pull eligible inputs unconditionally, so fish or meat that your transfer hub meant to warehouse can be swallowed by production the moment the factory is within range. The counterintuitive fix that worked in practice: position the station so only the warehouse falls inside its radius, keeping the cannery out of the catchment entirely. For what canneries consume, see the cargo types guide.
One cargo type per warehouse? Unconfirmed
Can a warehouse hold two different resources?
Reports of single-cargo warehouses circulate, but footage contradicts a hard one-type rule: one stacked facility held 500 fish and 500 meat together, and another stored fish, meat and furniture at 500 each. Specialized warehouses can also be assigned to specific cargo types. Treat "one cargo type per warehouse" as unconfirmed — when you need guaranteed separation, the safe default is one warehouse per cargo family.
Warehouse versus direct factory delivery
Warehouses are the middle layer, not the only option. At one extreme, cargo can skip storage entirely: build a rail terminus within a factory's range and deliveries go straight into the plant — one oil chain did exactly this by placing the terminus beside the refinery, and a harbor built within a factory's range delivers directly as well. Direct delivery is ideal when a single factory consumes everything a line produces.
At the other extreme sits the distribution center: cluster per-category warehouses around one long universal cargo station and split the platforms between unloading and loading. A worked furniture example shows the math: furniture consumes planks and glass at 4 to 1 (four planks plus one glass produce two furniture), so the inbound lines were matched at that ratio — the glass line ran at 37 against a plank line supplying about 146 of the 148 the ratio calls for — and the outbound furniture line was sized to the sum, 183 against demand of 185, described as "about perfect". One detail that helps inside these hubs: when trucks serve a multi-cargo warehouse, they load the cargo with the largest stock first.
A second observed layout, built for vegetables, used one warehouse, one station and four platforms — two dedicated to unloading, two to loading.
Warehouses pay nothing: the first trap for new players
This is the single most common way new players misread the freight economy: deposits into a warehouse earn nothing. A warehouse is mid-chain storage, never a destination. One session delivered 128 plastics into a warehouse and collected exactly zero.
Revenue in Transport Fever 3 is only paid on final delivery to a real consumer, and it is split among every vehicle in the chain by the share of the total distance each leg covers — in one worked example the train leg took 50% and two truck legs took 30% and 20%. That split is why factory-to-warehouse legs are structurally unprofitable: the payout only exists downstream.
Building your first warehouse hub
Recap: place the warehouse so its radius covers both the unloading point and the trucks' pickup; specialize sections once you know which cargo dominates the line; stack and merge capacity before bottlenecks appear; and always plan what happens after the warehouse, because the final delivery is where every dollar comes from.
If this is your first freight build, the beginner guide covers the early-game economy, and once you lay the rail leg into a warehouse hub, the train signals guide keeps that line moving.
Related Articles
guides
Transport Fever 3 Beginner Guide: Your First Hours Explained
New to Transport Fever 3? Which mode to start with, how the campaign teaches the ropes, what era progression means, and the principles behind a profitable line.
guides
Transport Fever 3 Campaign Guide: All Eight Missions Overview
The Transport Fever 3 campaign runs eight missions inspired by transport history. How the story mode is structured, what it teaches, and where walkthroughs land.
guides
Transport Fever 3 Industries and Cargo Types: Full Reference
Every Transport Fever 3 industry recipe and cargo type we could verify: logs to planks, oil to chemicals, plus how workforce and boosters drive output.
Was this helpful?