
Transport Fever 3 Money Making Guide: Income Math and Strategies
How money actually works in Transport Fever 3: the final-delivery payout rule, revenue sharing between vehicles, loans, subsidies, and how to rescue a losing line.
Making money in Transport Fever 3 looks simple — build lines, haul cargo, watch the counter climb — but the payout rules underneath are unusual and punish exactly the mistakes new players make. This guide covers how income is calculated, how to fund an empty treasury, how to tell a profitable line from a dying one, and how to fix a red ledger.
Prefer video? SeniorsLord walks through a fast first-profit route:

Transport Fever 3 Guide: How to Make Money FAST (Beginner Guide)
How revenue actually works in Transport Fever 3
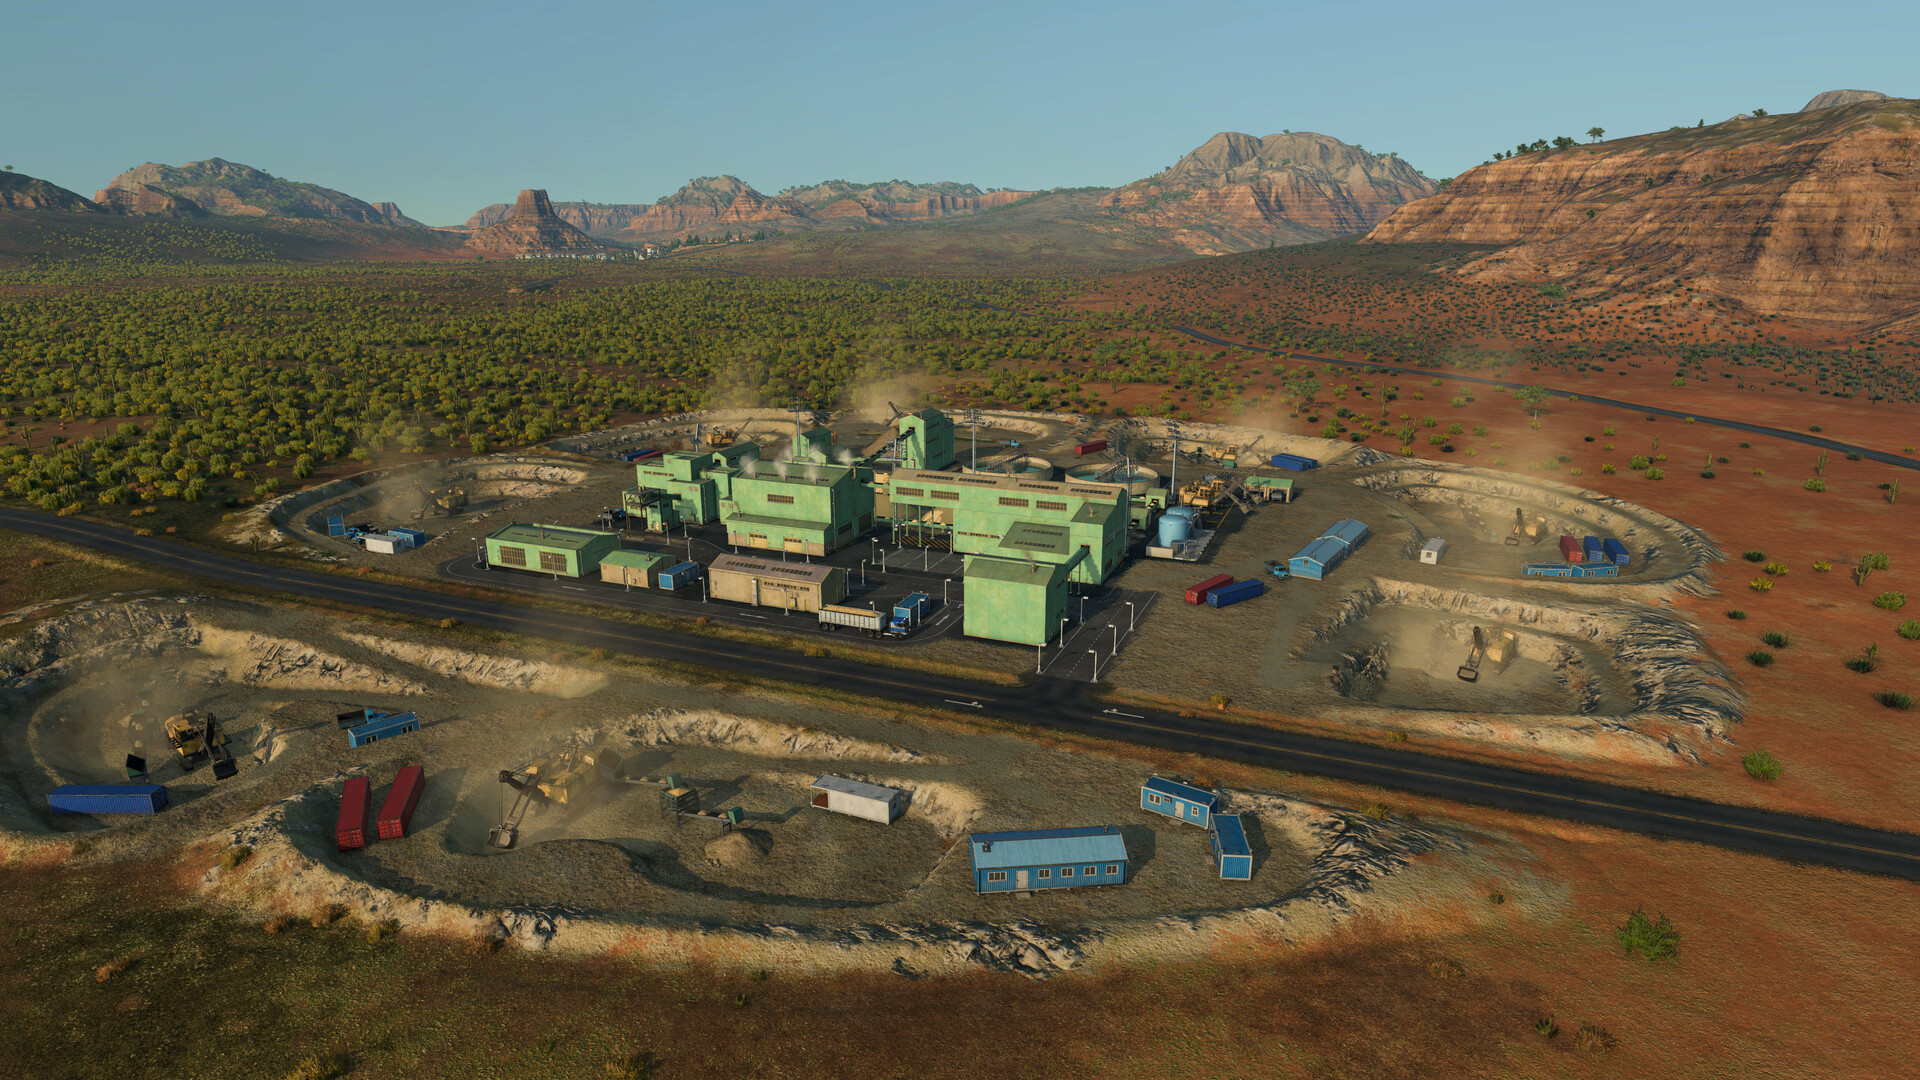
A mining complex with trucks feeding a processing plant. Mature industrial setups like this are where the big money is — once the line utilization is healthy. Screenshot: Urban Games, via the official Steam store page.
Transport Fever 3 does not pay you as vehicles drive around. Payment happens once, when a cargo unit reaches a customer that actually wants it: the game pays the full transport fee and divides it among every vehicle that moved the cargo, in proportion to the share of total route distance each covered.
One player-documented chain makes the split concrete:
| Leg of the chain | Share of the route | Share of the payout |
|---|---|---|
| Freight train, factory to the city rail head | 50% | 50% |
| Truck A, rail head to the distribution point | 30% | 30% |
| Truck B, final delivery to the customer | 20% | 20% |
Multi-stage chains are legitimate — intermediate vehicles still earn their cut as long as the chain completes. What breaks companies is a line whose destination is a warehouse:
One unconfirmed theory in player comments claims payouts are based on straight-line ("as the crow flies") distance between origin and destination rather than kilometers driven — proposed to explain why a plastics line bled money despite its destination sitting geographically close to its origin. Treat this as speculation; it has not been verified in game.
Starting from zero: loans and subsidies
A standard campaign opens with an empty treasury, so debt is not optional — it is the opening move. The beginner guide walks the full startup sequence; this section covers only the money.
Loans come in tiers, and you can hold several at once, refinance, and repay early:
| Tier | Amount | Reported terms |
|---|---|---|
| First tier | $12M | 108 monthly payments, 10% interest |
| Middle tier | $16M | chosen in one 1900 start for its lower repayment rate |
| Top tier | $21M | paired with the opener in one campaign, 228-month term |
The middle tier's appeal is cash flow: a smaller mandatory repayment leaves more room for construction. When a cash peak arrives — established passenger rail lines cleared around $4M a year each by the 1910s in one campaign — repay early while interest still runs.
Subsidies are the other early engine. The structure is consistent: accepting pays an immediate bonus, completing within the deadline pays the main reward (often plus bonus income or town progress for years), and failing charges a fine, usually with a reputation hit. Offers expire if you sit on them.
| Contract, as reported in campaigns | On acceptance | On completion | On failure |
|---|---|---|---|
| City supply run, 1900 start | $3M | $8M | -$7M |
| Clay pit delivery | — | auto-completed on acceptance: +$14M | — |
| Fish delivery, late game | $10.3M | $23.2M (required 95 fish) | — |
| Livestock run that slipped | — | — | -$23.9M |
Reading line profitability
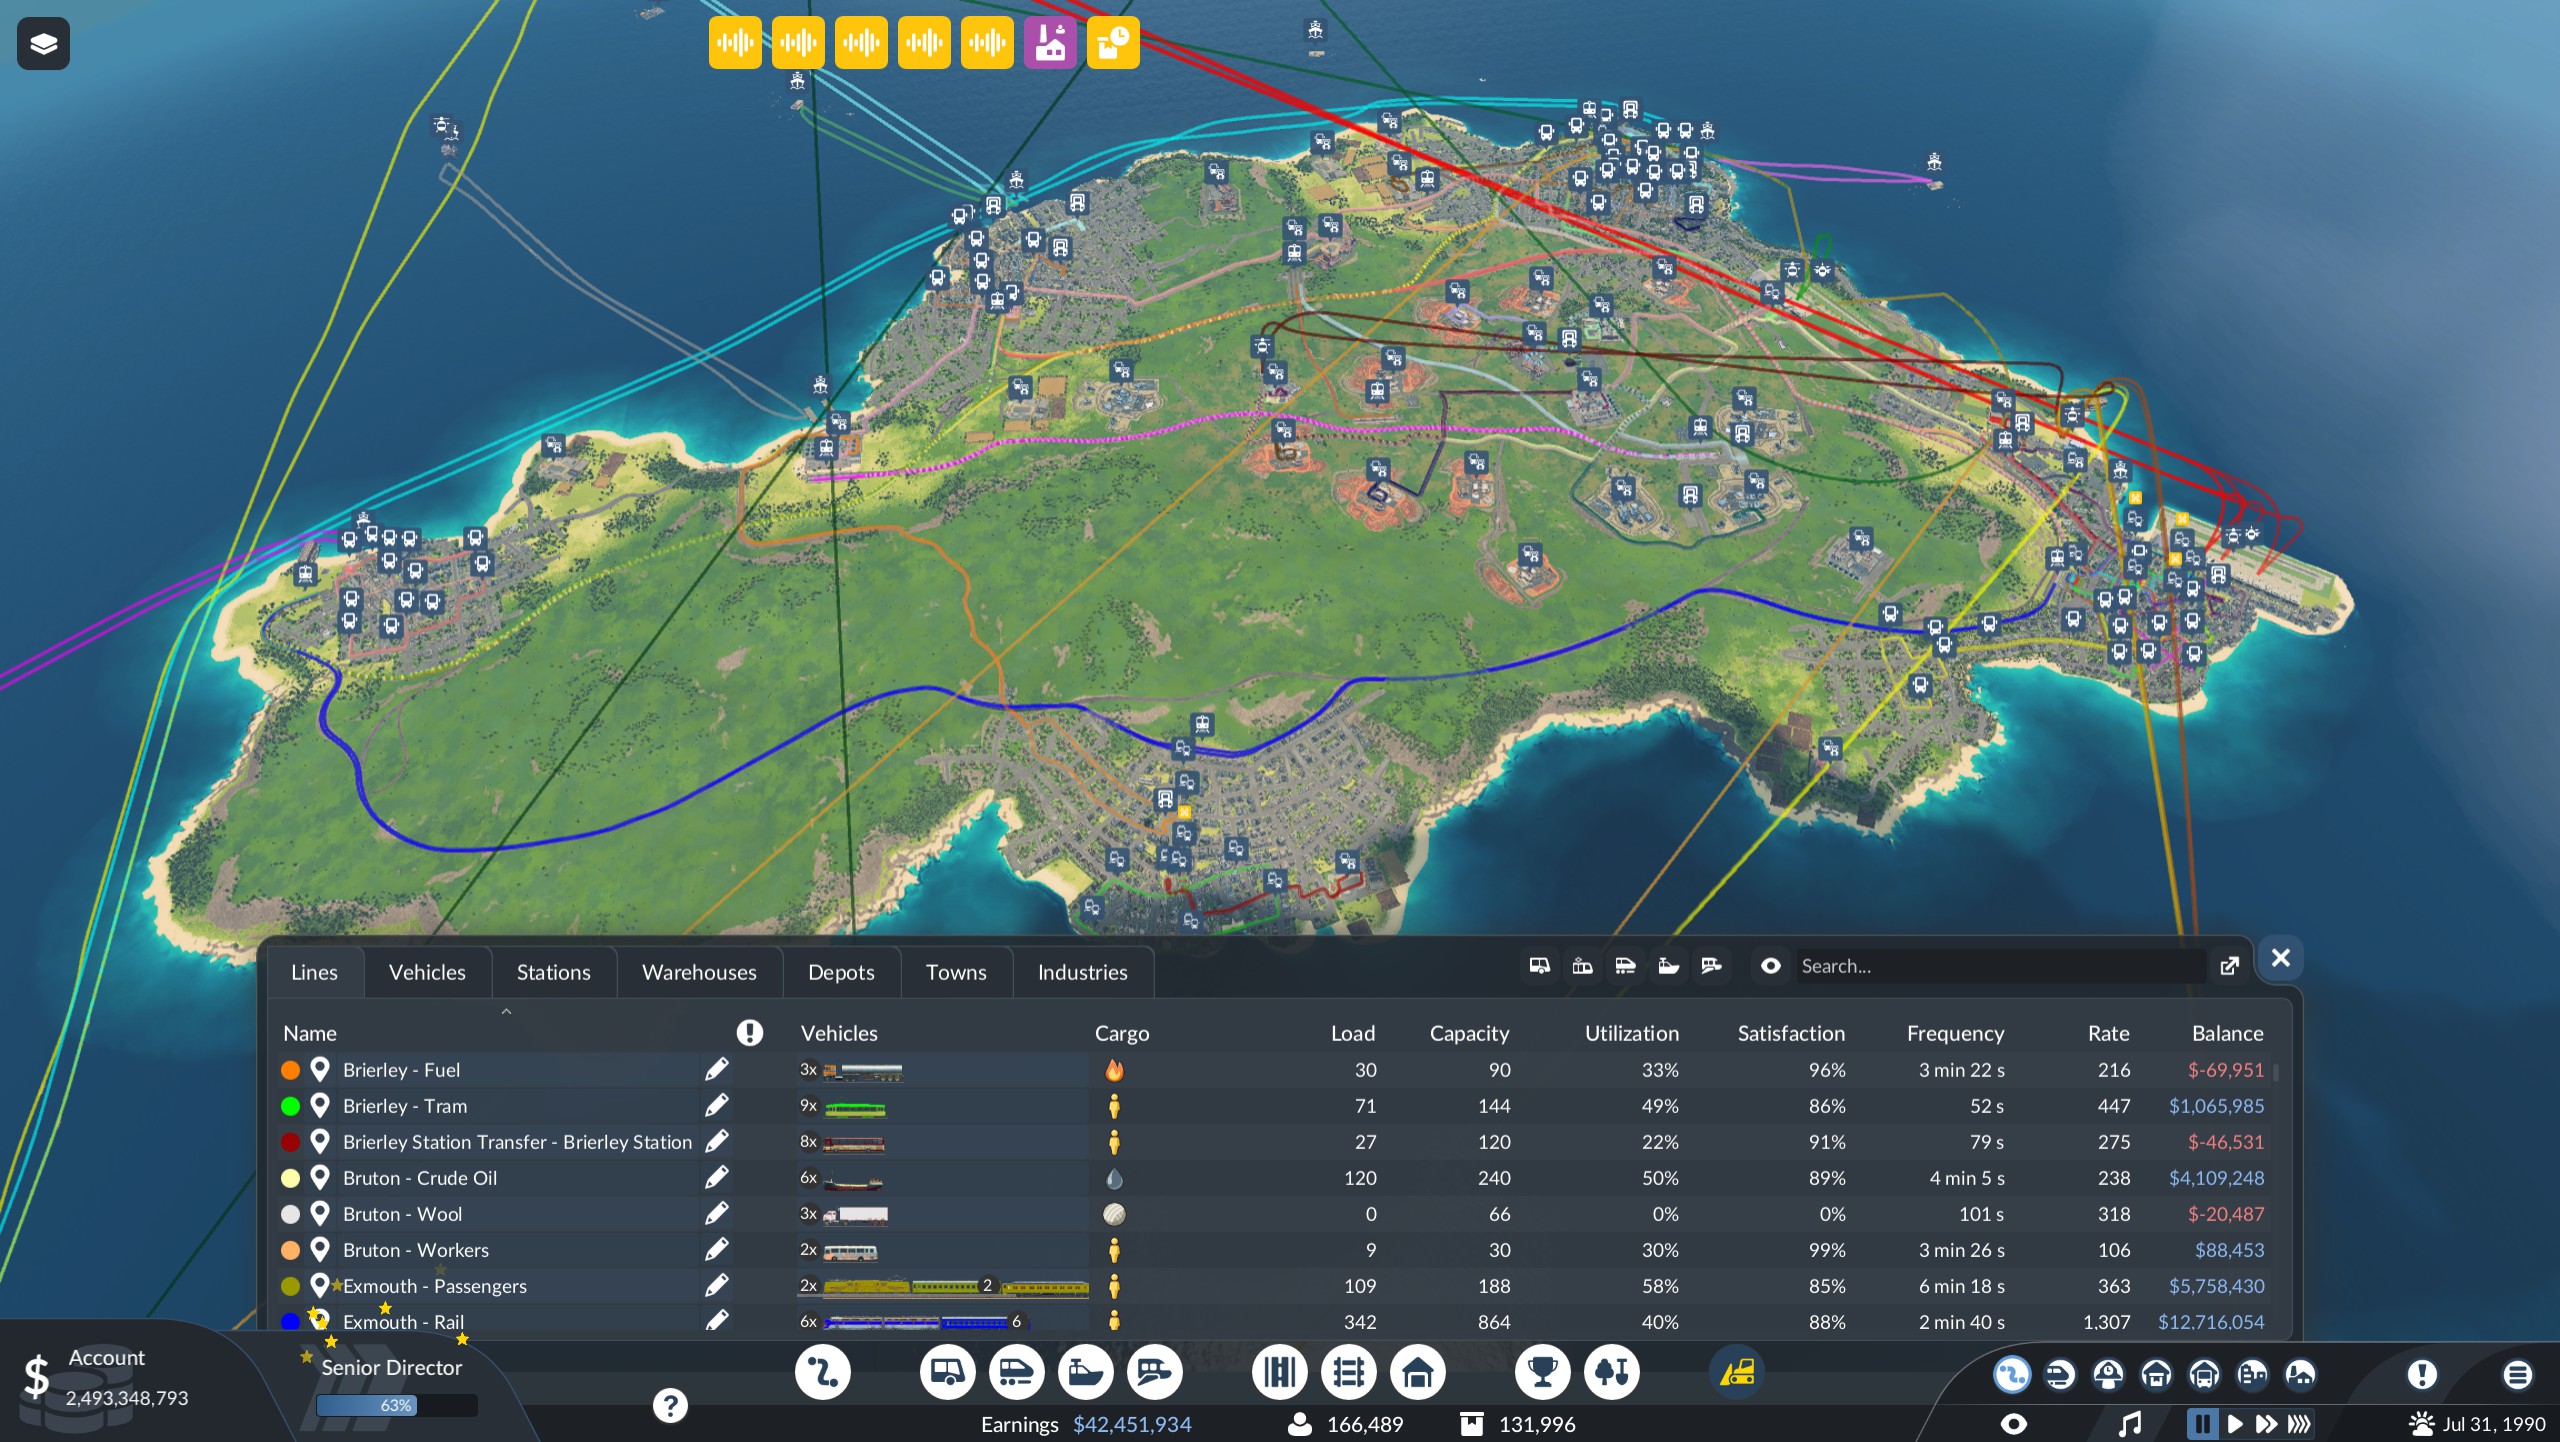
The lines overview panel is where a healthy empire and a bleeding one look obviously different: each line's utilization, satisfaction, and running balance sit side by side — here a profitable crude-oil line funds a fuel line that is losing money. Community screenshot by HerrNeese, via Steam.
The line overview shows a utilization figure — the single most useful number for diagnosing a sick line. It tracks how much of your capacity is actually used; low utilization means paying to move air.
That 8% case is instructive: after upgrading to larger vehicles, supply outran what the destination could absorb, utilization collapsed, and the line flipped to a loss. The fix was to cut vehicles, not add them. Check utilization first on any losing line.
Three loading rules come up repeatedly in reported play:
- Depart on full load. Have vehicles wait until full so you never haul half-empty consists. Caveats: idling burns running costs, and full-load waits are capped (one report puts the cap around 600 seconds), so do not park a train all day chasing the last unit.
- Multi-stop lines load by percentage. One setup loaded a mixed train at roughly 60% meat and 30% furniture across its stops; shared industrial stops ran 80/20 between cargo types. Match the shares to downstream demand rather than guessing.
- Never mix speeds on one line. Slow vehicles drag the whole line to their pace, and a freight train sharing a passenger trunk makes both worse — players repeatedly had to split such lines. Keep freight and passengers separated; the signals guide covers running two directions on minimal track.
What good lines actually earn
Reported earnings swing wildly with era, distance, and load factor — read the table as orders of magnitude, not promises. Figures come from two filmed 1900-1993 campaigns; some are single deliveries, others annual totals:
| Reported figure | Context |
|---|---|
| ~$4M per year, each | two separate passenger rail lines, 1910s |
| ~$12M cumulative | one mixed fish/meat/furniture freight line, its owner's most profitable by the 1930s |
| ~$6M from a single unload | one large fish delivery; ~$9M counting the loaded return leg |
| ~$5.4M for a full load | a trainload of finished cars; a single partial unload banked ~$3.6M |
| ~$600k per year | a small airport express shuttle |
| ~$18M, spent once | replacing an entire city bus fleet — fleet modernization is not free |
| $19M recovered | selling one bricks train that earned $5,000 a year and lost $2M |
The pattern: lines with guaranteed final delivery — passengers, finished goods — are the profit engines; anything whose value depends on a long chain completing is fragile. To decide which cargo is worth building chains around, the industries and cargo types guide lists every conversion recipe in the game.
Cost control and rescue moves
When the ledger turns red, work through this sequence — it mirrors how one player dug out of a near-bankruptcy:
- Audit destinations first. Every line terminating at a warehouse is a cost center (see the trap above) — confirm the delivery side of each chain exists before adding capacity.
- Cut the middlemen. Transfers cost twice: waiting burns money and the transfer leg books nothing. In the rescue run, nearly everything switched to direct delivery and the distribution center retired — except one furniture-factory transfer that still paid.
- Sell to stop the bleed. The bricks train sale recovered $19M in cash and erased a $2M-per-year loss in one move. A vehicle that cannot pay for itself is inventory, not infrastructure.
- Set a loss ceiling. A workable rule from the same run: no single line should lose more than about $1M. Anything past that gets restructured or sold.
- Know the saturation quirk. Once a region's demand is satisfied, trucks automatically start delivering to stops farther down the route. Before declaring a line broken, check whether it serves a saturated market.
Two cost traps catch even veterans:
Platform choice matters too: one player measured furniture unloading faster on a goods platform than on a flatbed platform — about $41k versus $34k per delivery. Small gaps compound over hundreds of runs. And coming from the previous game, the TF2 vs TF3 comparison explains why cargo now pools in warehouses instead of piling up on platforms — which changes what a "full" station is telling you.
Is there a money cheat?
This wiki does not cover third-party trainers or cheat-engine setups — they carry malware and stability risk. The supported way to play without economic pressure is sandbox mode, which removes the budget constraint entirely and is the right place to prototype line designs before risking campaign cash.
Common questions
Do vehicles in the middle of a chain still get paid?
Yes, as long as the chain completes. The final-delivery payout is divided by distance share, so a feeder truck handing cargo to the next leg still earns its cut. If the final delivery never happens, nobody gets paid and every leg just accumulates running costs.
Why is my line losing money when the trains are full?
Work down the list: does the line terminate at a warehouse (a zero-revenue leg)? Check utilization, not just load factor — a line at 8% is over-vehicled. Mixed speeds tax the whole line, and aging vehicles slow down and burn maintenance — replace or sell.
Quick money checklist
- Revenue lands only at final delivery; warehouse-terminating lines book zero
- Payouts split by distance share — every vehicle in a completed chain gets paid
- Force unload still pays; use it to unblock backed-up customer stops
- Start with a loan, favor the middle tier for cash flow, repay early at cash peaks
- Take subsidies only when delivery is realistic — fines reach eight figures
- Check utilization before adding vehicles; single digits mean cut, not grow
- Depart on full load, match stop percentages to demand, never mix speeds
- Sell anything losing more than about $1M; prefer direct delivery over transfer chains
Pair it with the beginner guide for opening moves and the warehouse guide for the transfer mechanics that make or break these chains.
Related Articles
guides
Transport Fever 3 Beginner Guide: Your First Hours Explained
New to Transport Fever 3? Which mode to start with, how the campaign teaches the ropes, what era progression means, and the principles behind a profitable line.
guides
Transport Fever 3 Campaign Guide: All Eight Missions Overview
The Transport Fever 3 campaign runs eight missions inspired by transport history. How the story mode is structured, what it teaches, and where walkthroughs land.
guides
Transport Fever 3 Industries and Cargo Types: Full Reference
Every Transport Fever 3 industry recipe and cargo type we could verify: logs to planks, oil to chemicals, plus how workforce and boosters drive output.
Was this helpful?