
Transport Fever 3 Industries and Cargo Types: Full Reference
Every Transport Fever 3 industry recipe and cargo type we could verify: logs to planks, oil to chemicals, plus how workforce and boosters drive output.
Prefer video? HoneyBadger Gaming compares TF3 cargo chains with Transport Fever 2, and the official channel tours industries and cargo:

ULTIMATE CARGO GUIDE - it's not like TfP2! | Transport Fever 3 Ultimate Guides

Transport Fever 3 - First Look: Industries and Cargo
How industries work in Transport Fever 3

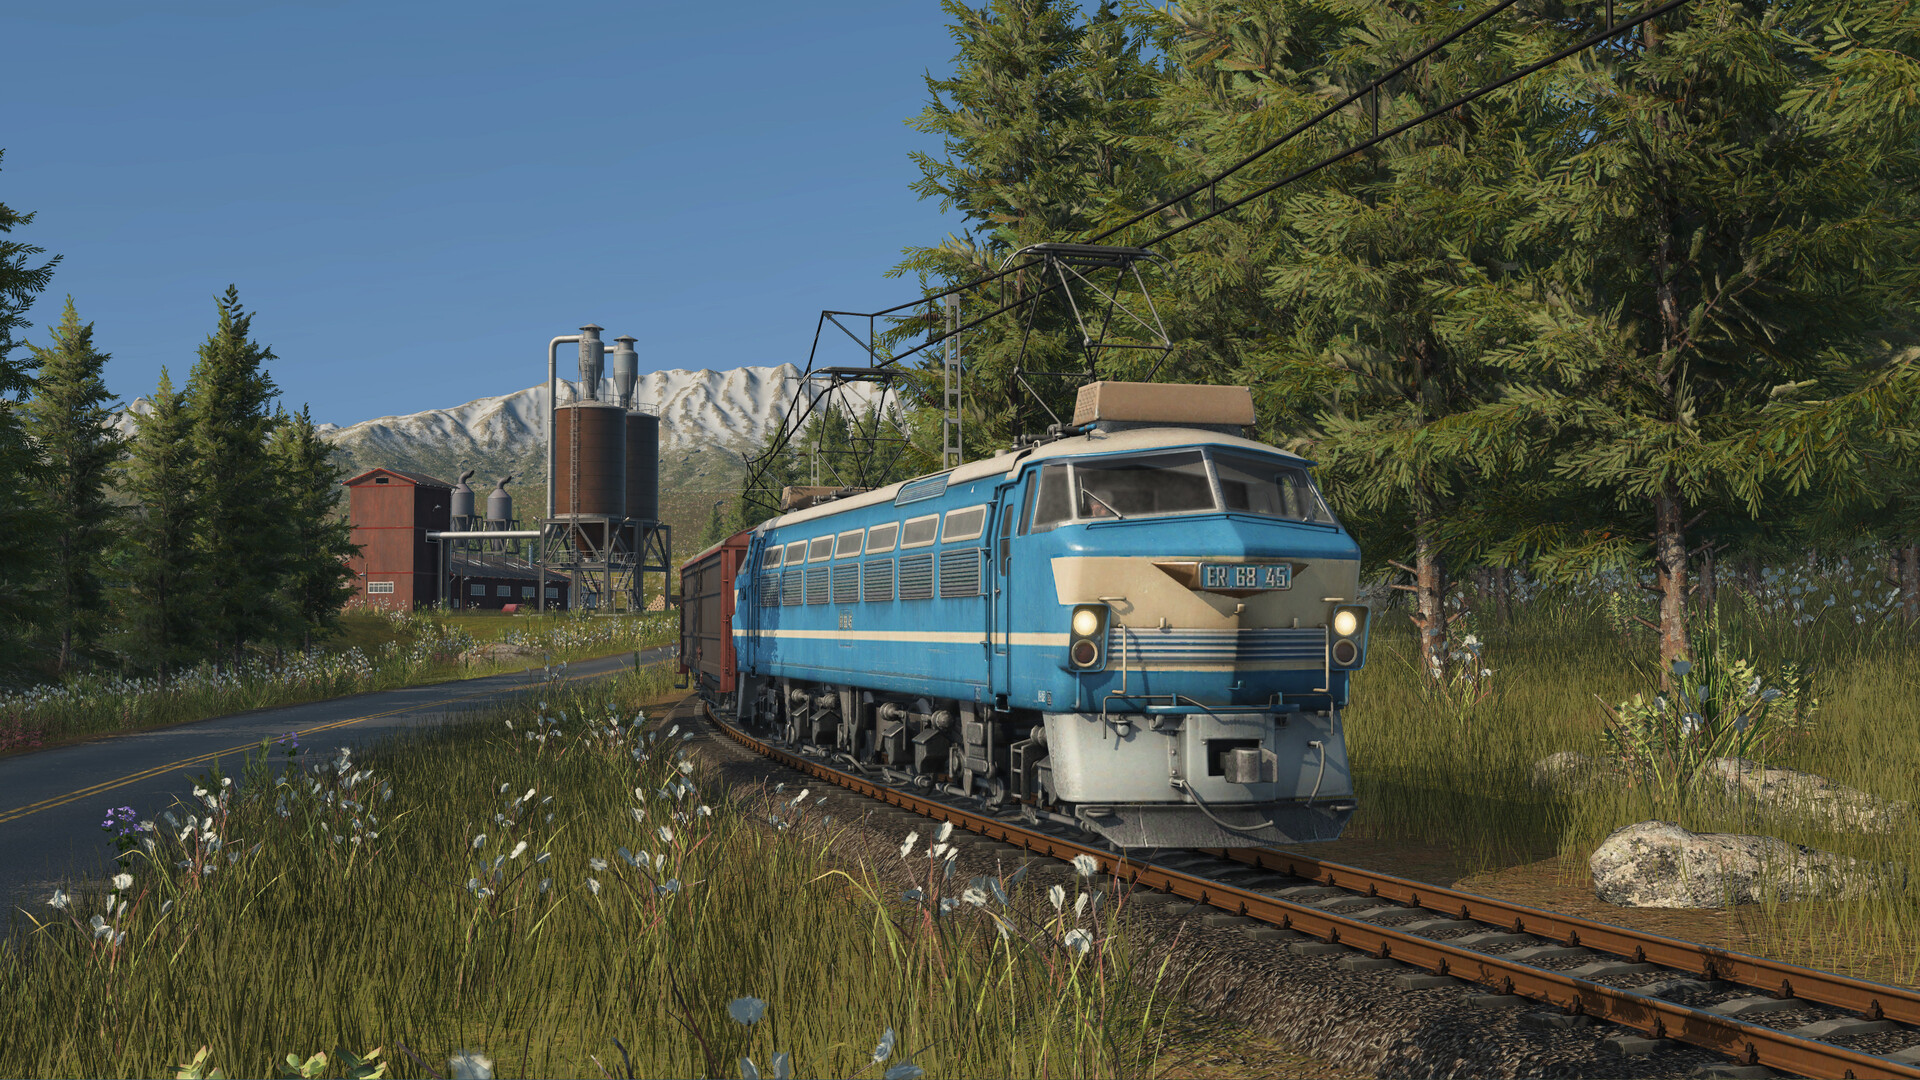
An electric freight locomotive passing an industry complex. Freight chains pay at every leg — raw materials to processor to town — which is why they outearn pure passenger lines. Screenshot: Urban Games, via the official Steam store page.
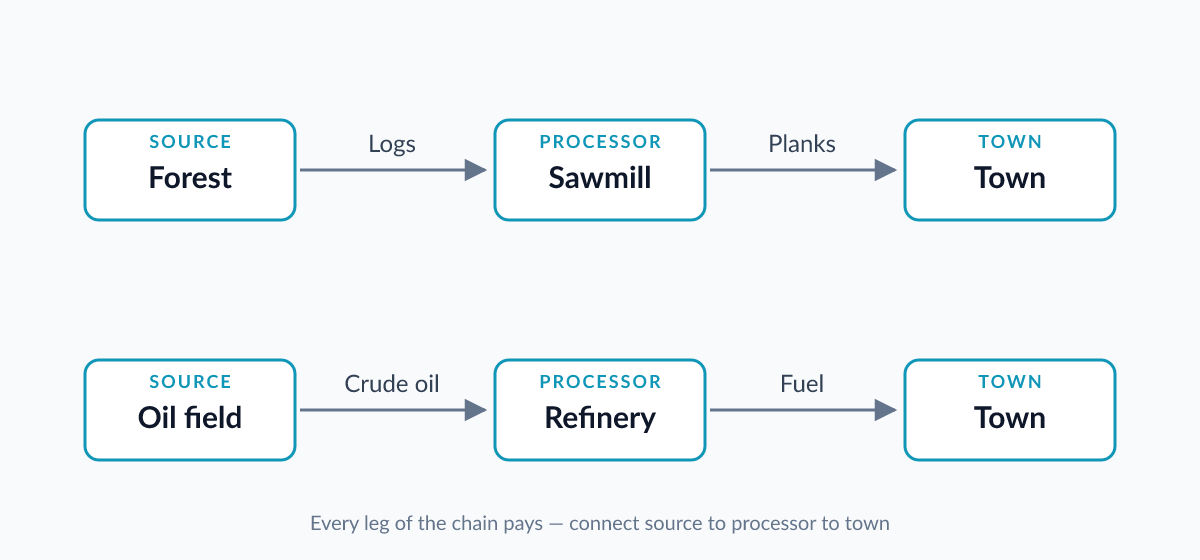
Concept diagram: two classic chains — logs become planks, crude oil becomes fuel. Each leg pays as the cargo completes its journey. (Original diagram.)
An offshore oil platform feeding tanker trucks. Oil is one of the most profitable cargo chains — crude flows to refineries, then on to towns as fuel or goods. Screenshot: Urban Games, via the official Steam store page.
Once you have finished the beginner guide and your first lines are earning, the industry layer is where the real money starts. Transport Fever 3 treats industry as a living economy rather than a fixed backdrop: new plants appear as the decades pass, established ones can wither, and in one recorded session a canning factory simply vanished from the map. Losing a plant is annoying rather than fatal — replacements and new industries keep arriving — but it reshapes which freight corridors deserve a multi-million investment, so re-check the industry list before committing to a long line.
The shutdown countdown
When a plant's workload stays too low for too long, the game starts a shutdown countdown — reported at around 22 minutes of play in one test — after which the industry closes for good. The uncomfortable part: that same test recorded a plant closing while the fulfillment meter read 100%. The exact trigger appears to involve a periodic settlement rather than the live meter, so treat any countdown as an emergency even when the numbers look green. More vehicles on the input lines, a passenger service for workers, and tool deliveries all push workload back up.
Why did my factory close when every delivery was fulfilled?
The shutdown check seems to run on a periodic in-game settlement, not the live fulfillment display — one documented plant closed at a shown 100%. If a countdown has started, assume the meter is hiding the trend and add capacity immediately on both the input and output sides.
Workload vs. workforce
The two terms sound interchangeable and are not. Workload is freight: is the plant receiving raw materials and shipping finished goods fast enough to justify its capacity? Workforce is people: does the plant have workers commuting in from its own town? The classic misdiagnosis is a mine or quarry that ships nothing at all — that is almost always a workforce shortage, not a broken freight line.
Boosters, plots, and full storage
Base production can be pushed well above its starting rate through three booster inputs: workers (passengers who alight at the plant's own station), machines (hauled in as freight), and tools (which can also directly upgrade an industrial building). Farms additionally accept fertilizer — a byproduct of oil refining — and fertilizer stacks with workforce boosts. Farms are also the only industries that grow physically, expanding across additional plots to raise their ceiling. Other plants do not gain plots, but they do expand their footprints over time, which can wall in a station you placed too close to the building.
One relief: full storage carries no penalty. A plant whose output warehouse is full keeps producing — a fertilizer plant was recorded running at full stock with production unpaused. Over-supply wastes haulage; it never kills the industry. Only sustained low workload does that.
Production chains and recipes
The conversion ratios below come from on-screen figures in extended playthroughs. Where the source never stated a quantity clearly, the table says so instead of guessing.
| Chain | Inputs | Outputs | Notes |
|---|---|---|---|
| Sawmill | 4 logs | 8 planks | 1:2, so return loads make this a natural two-way line |
| Brick works | 1 clay | 1 brick | Straight 1:1 |
| Glass works | 12 sand | 6 glass | 2:1 |
| Oil refinery | 4 oil | 2 fuel, 1 fertilizer, 4 chemicals | Oil-to-chemicals runs 1:1; a three-output workhorse |
| Meat chain | 4 grain | 1 meat | Reported alongside a cannery's supply planning |
| Furniture factory | 4 planks + 1 glass | 2 furniture | Feed the inputs at a 4:1 rate ratio |
| Machine factory | 7 steel + 4 plastic | 7 machines | Steel comes from mills that consume iron ore and coal (ratio unstated) |
| Tool factory | Planks + plastics | Tools | Quantities not stated; tools also upgrade industrial buildings |
| Canning factory | Fish or meat + 1 steel plate | Canned food | Accepts either protein |
| Vehicle factory | 4 steel plates + 1 machine | 1 car | One recording describes the input as planks, not steel plates — verify in game |
| Chemical plant | Chemicals | Dyes + plastics | Roughly 6 chemicals for 2 dyes was quoted, with plastics as a second output — the source contradicts itself on quantities, so plan around approximations |
Two structural notes are worth internalizing. First, the refinery's fertilizer output is not a novelty: feeding it to nearby farms is one of the few ways to lift farm output beyond workforce alone, though it is only worth hauling if a town actually wants the crops. Second, stations placed inside a factory's delivery radius unload straight into the plant — no warehouse hop required — which keeps intermediate chains lean.
Balancing rates across a chain
Multi-step chains fall apart when an upstream leg over- or under-produces relative to the recipe. The method shown repeatedly in footage: read the recipe ratio, then size each feeder line's rate to match it. A 2:1 sand-to-glass chain needs the sand leg moving roughly twice the glass plant's consumption; the furniture chain is the mirror case, with planks fed at four times the glass line's rate. The industry panel lists each plant's maximum consumption and maximum production, which turns rate balancing from guesswork into arithmetic.
How do I read the industry panel numbers?
Open the plant's detail panel and check the maximum consumption figure for each input and the maximum production figure for each output. Add up the delivered rate of every line feeding that input and compare. Delivered far below maximum consumption with empty stock means add vehicles; a permanently full stock means you are over-provisioned — which, as noted above, is safe.
Cargo types and vehicle classes
Freight falls into three handling classes, and the class dictates the infrastructure: general goods (planks, furniture, food, machines and similar), bulk freight hauled on flatbeds (logs, ore, steel), and liquids (oil, fuel, chemicals), which need tank vehicles, liquid-capable stations and dedicated liquid warehouses. A liquid warehouse caps at 500 units, so a full tank farm can leave a ship with nowhere to unload.
Stations come in matching specializations. Specialized platforms handle their own class fastest — one recording logged $41k furniture deliveries through a goods platform against $34k on a flatbed — and a specialized platform speeds its own cargo while slowing everything else, with universal platforms as the compromise. Remember that TF3 stores cargo in warehouses rather than piling it on platforms, farms spawn with their own stations attached, and adjacent warehouses automatically merge their capacity. The warehouse guide covers radius, caps and merging in depth, and the TF2 vs TF3 comparison lists everything else that changed for freight.
What can share a vehicle
Not everything mixes. One documented restriction blocked ore and machine parts from riding in the same train, and the general rule is stricter than it looks: a vehicle must be able to carry every cargo type on the line, or the line errors out. Check the vehicle's cargo list against all goods on the route before adding a second commodity. Within one vehicle class you can set load proportions per line — a steel-plates-and-parts line was configured 80/20, a textiles-and-dyes line 70/30, and mixed liquid tank loads ran at a 70/30 split.
The universal cargo car trade-off
The universal cargo car is the flexibility play: it hauls anything, which makes it ideal for experimental or evolving lines. The price is speed — universals carry a speed penalty, and footage describes them as slow to load as well, though cheap. Specialized cars move faster and load faster, so switch a proven line over to them once you know exactly what it will carry year after year.
Workforce and boosters in practice
The booster numbers get dramatic quickly. Workforce boosts recorded across 1900s–1940s playthroughs include +63% on an early fishery chain, +76% at a fishery with ten workers, +129% at a clay pit and +145% at a logging camp; a line serving two workforce deliveries ran at a stated 133% additional efficiency, and a refinery unblocked by a 140% machine booster plus workers finally kept pace with its own chemical output. A logging camp that received machine deliveries jumped from a base output of 130 to 232.
Here is the rule that breaks most players' plans: workforce must come from the industry's own town. Commuters delivered from a neighboring city accomplish nothing. Passengers who merely transfer through a factory station do not count either — they must actually alight there. Build the passenger service from the town the plant belongs to, not whichever city happens to be closer on your network. As a bonus, an industrial passenger line also feeds town growth, so the same service compounds over the decades.
Tips and common mistakes
- Give grabby plants their own infrastructure. A canning factory unconditionally pulls any input inside its radius. If your transfer warehouse keeps getting emptied by the factory, rebuild the station so only the warehouse sits in range.
- Full warehouses are safe; low workload is not. Do not throttle production out of fear of a full store — the plant keeps making goods at 100% stock.
- A silent mine is a people problem. Zero outbound shipments while inputs keep arriving means workforce, not freight.
- Factory-to-warehouse legs earn nothing. Revenue is paid only on final delivery to a customer, so intermediate legs exist purely to feed the last mile — see the money-making guide for how multi-vehicle chains split the payment.
- Balance rates, not vibes. Use the recipe table above with the panel's maximum consumption figures; a 2:1 or 4:1 recipe dictates the feeder ratios exactly.
- Deliver tools early. Tools upgrade industrial buildings directly — one of the cheapest production multipliers in the game.
- Leave room around factories. Industries expand their footprints over time and can block stations placed flush against their walls.
- Prototype in sandbox. The sandbox mode guide explains how to test a full chain — recipes, feeder rates, booster effects — without risking your campaign balance sheet.
One final caveat: every figure on this page comes from early-to-mid era playthroughs, roughly 1900 to 1950. The recipes look era-stable, but vehicle capacities and boost magnitudes shift as the decades advance, so re-check your line rates whenever the network jumps a vehicle generation.
Related Articles
guides
Transport Fever 3 Beginner Guide: Your First Hours Explained
New to Transport Fever 3? Which mode to start with, how the campaign teaches the ropes, what era progression means, and the principles behind a profitable line.
guides
Transport Fever 3 Campaign Guide: All Eight Missions Overview
The Transport Fever 3 campaign runs eight missions inspired by transport history. How the story mode is structured, what it teaches, and where walkthroughs land.
guides
Transport Fever 3 Map Seeds: Best Seeds and How They Work
How map seeds and map generation work in Transport Fever 3: default map settings, terrain trade-offs, and the Deluxe Edition premade Emerald Shores map.
Was this helpful?